PubMed Imports
Overview
We have repeatedly heard that the biggest challenge to success with Faculty Success is loading publication citation information. This is especially frustrating when the information already resides in other software systems. In response, we made it a top priority to enable faculty to easily bring their data into Faculty Success.
PubMed Imports is our second major feature in this regard, following our BibTeX Imports feature released in 2013. With this new PubMed Imports feature, faculty can now pull their citations into Faculty Success directly from PubMed without first saving them into a BibTeX file.
What is PubMed?
PubMed is a resource provided by the US National Library of Medicine® that provides free access to MEDLINE®, the NLM® database of indexed citations and abstracts to medical, nursing, dental, veterinary, health care, and preclinical sciences journal articles.
How to Use the Feature
Step 1: Search PubMed
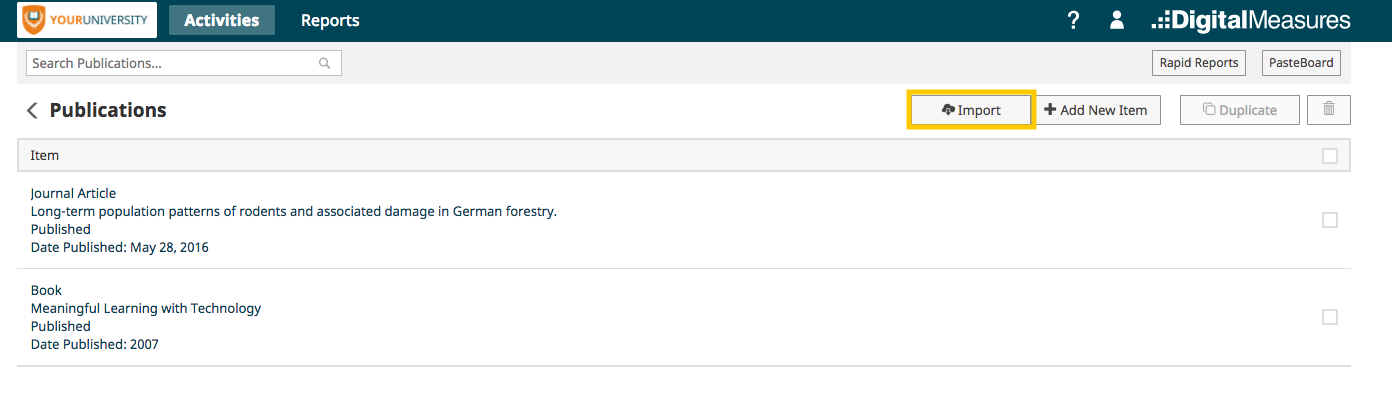
Select the Intellectual Contributions screen. Here you will find the Import button. Select this button.
From the Import from Third Party section choose PubMed
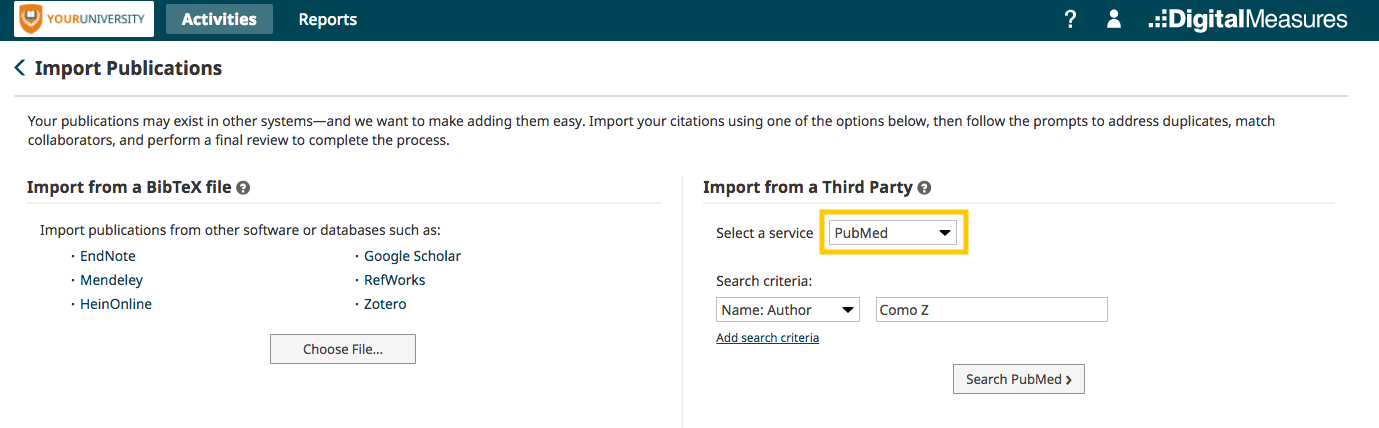
Next enter your search criteria. If you leave this section blank and click Continue, Faculty Success will search PubMed for records that match your name, or the name information for the given user for whom you are importing citations if you are managing data for someone else.
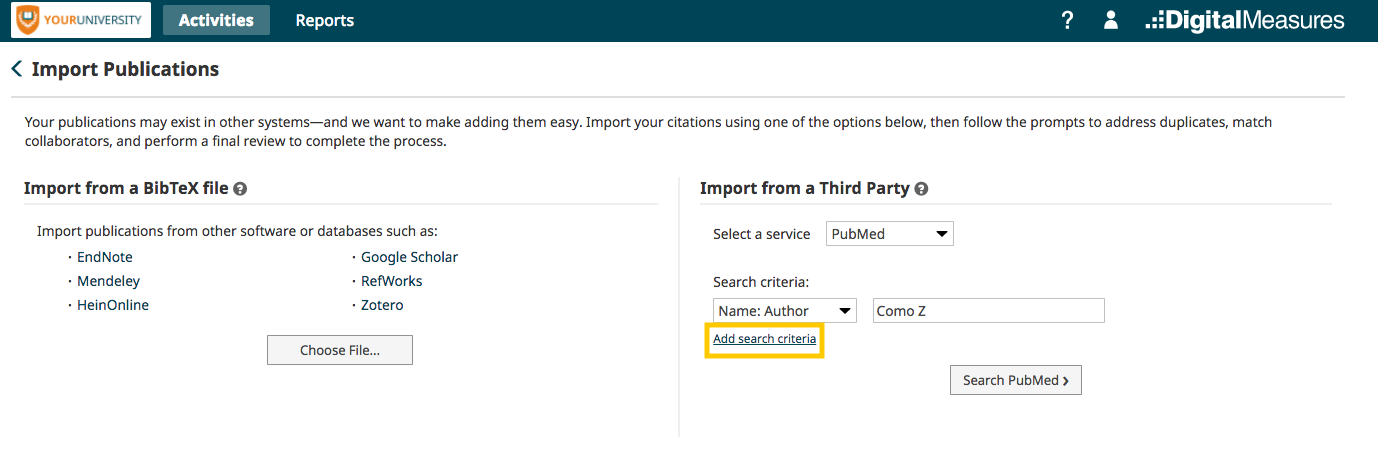
You can enter additional search criteria by choosing Add search criteria and entering your search parameters.
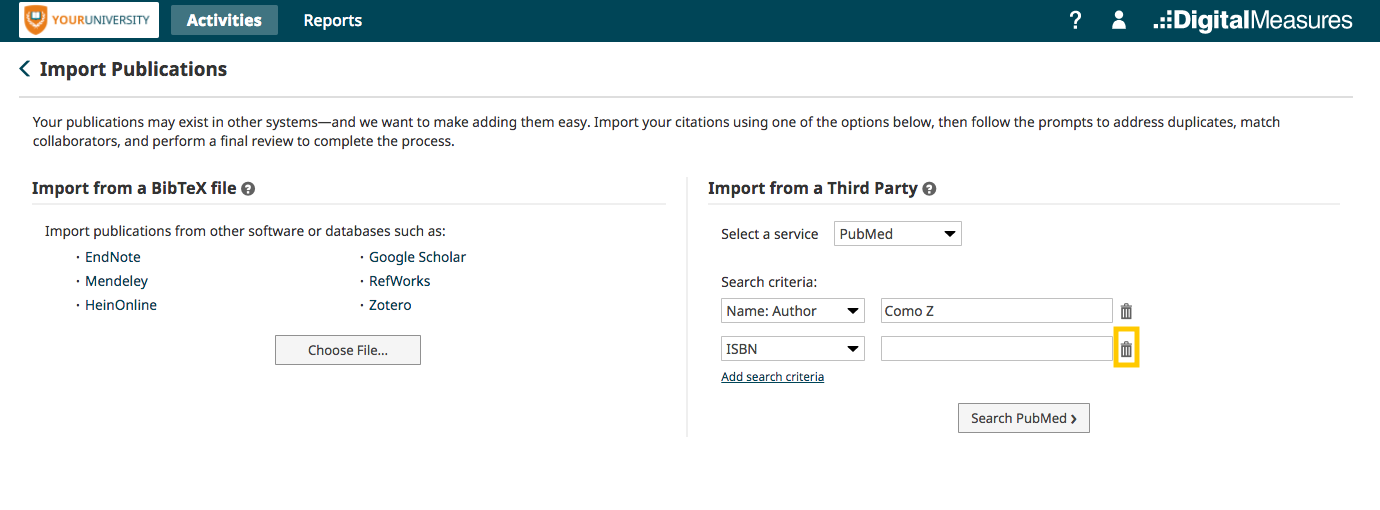
Note that the search criteria you enter will be combined with and logic. For example, entering the criteria above will focus the results from PubMed on those citations that have a publication date between 2009 and 2013 and have one or more text fields that contain the keyword "Neuropharmacology".
If you change your mind, you can use the garbage can icon to remove a search criterion.
Once you have selected your search criteria, click Search PubMed.
Step 2: Choose Your Records
Faculty Success will return the citations found in PubMed that match the search criteria you entered. From there you will need to select the records to import. To do this you can choose the check box at the top to Select All or check the box next to individual records.
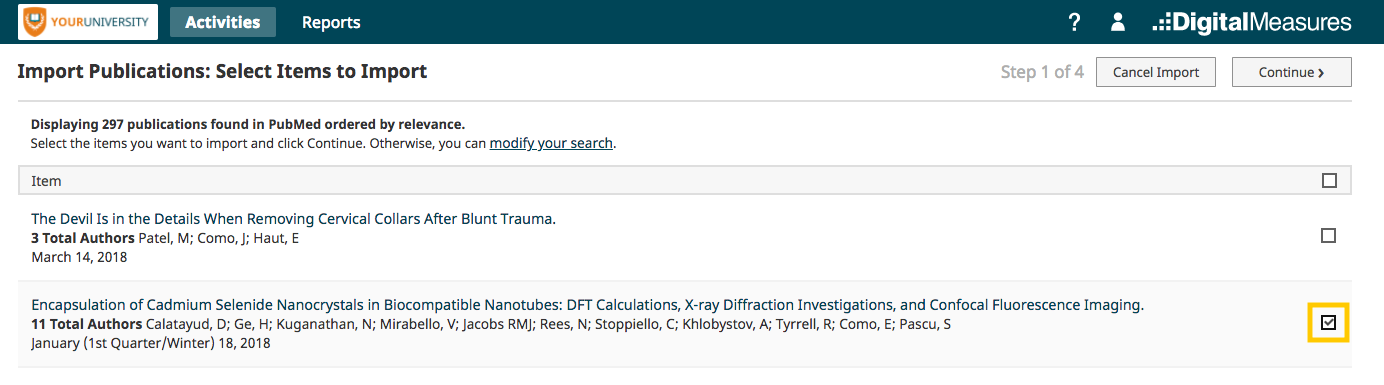
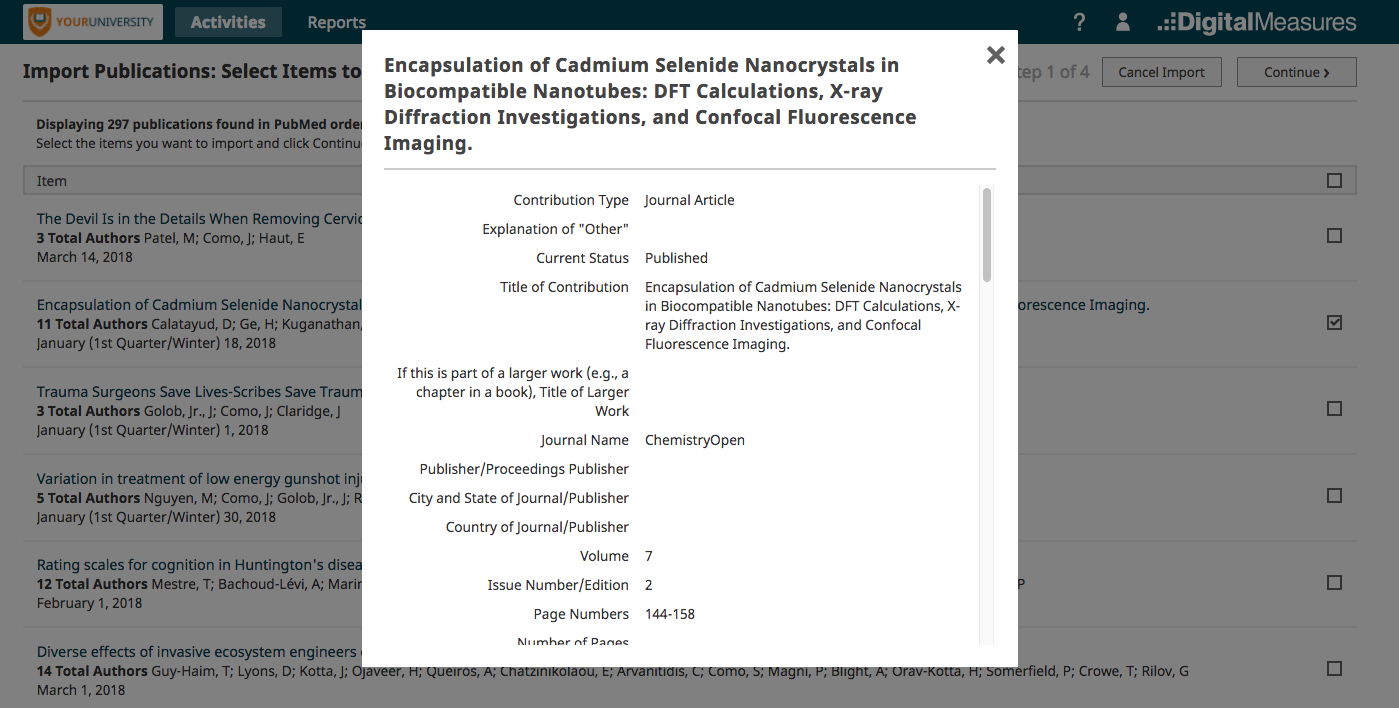
If you are uncertain about a citation, click the article title, which will show you the full set of details that will be imported into Faculty Success for that publication should you choose to proceed.
Once you have chosen the publications to import select Continue.
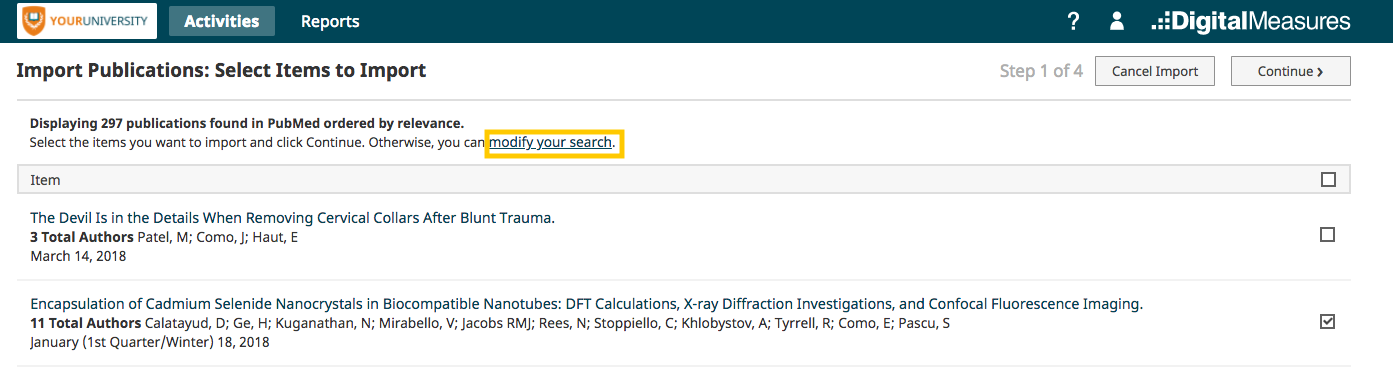
If too many publications were returned or the publication you expected to find does not appear, you can hone your search right from this screen. Select the modify your search link, update your criteria and select Search PubMed.

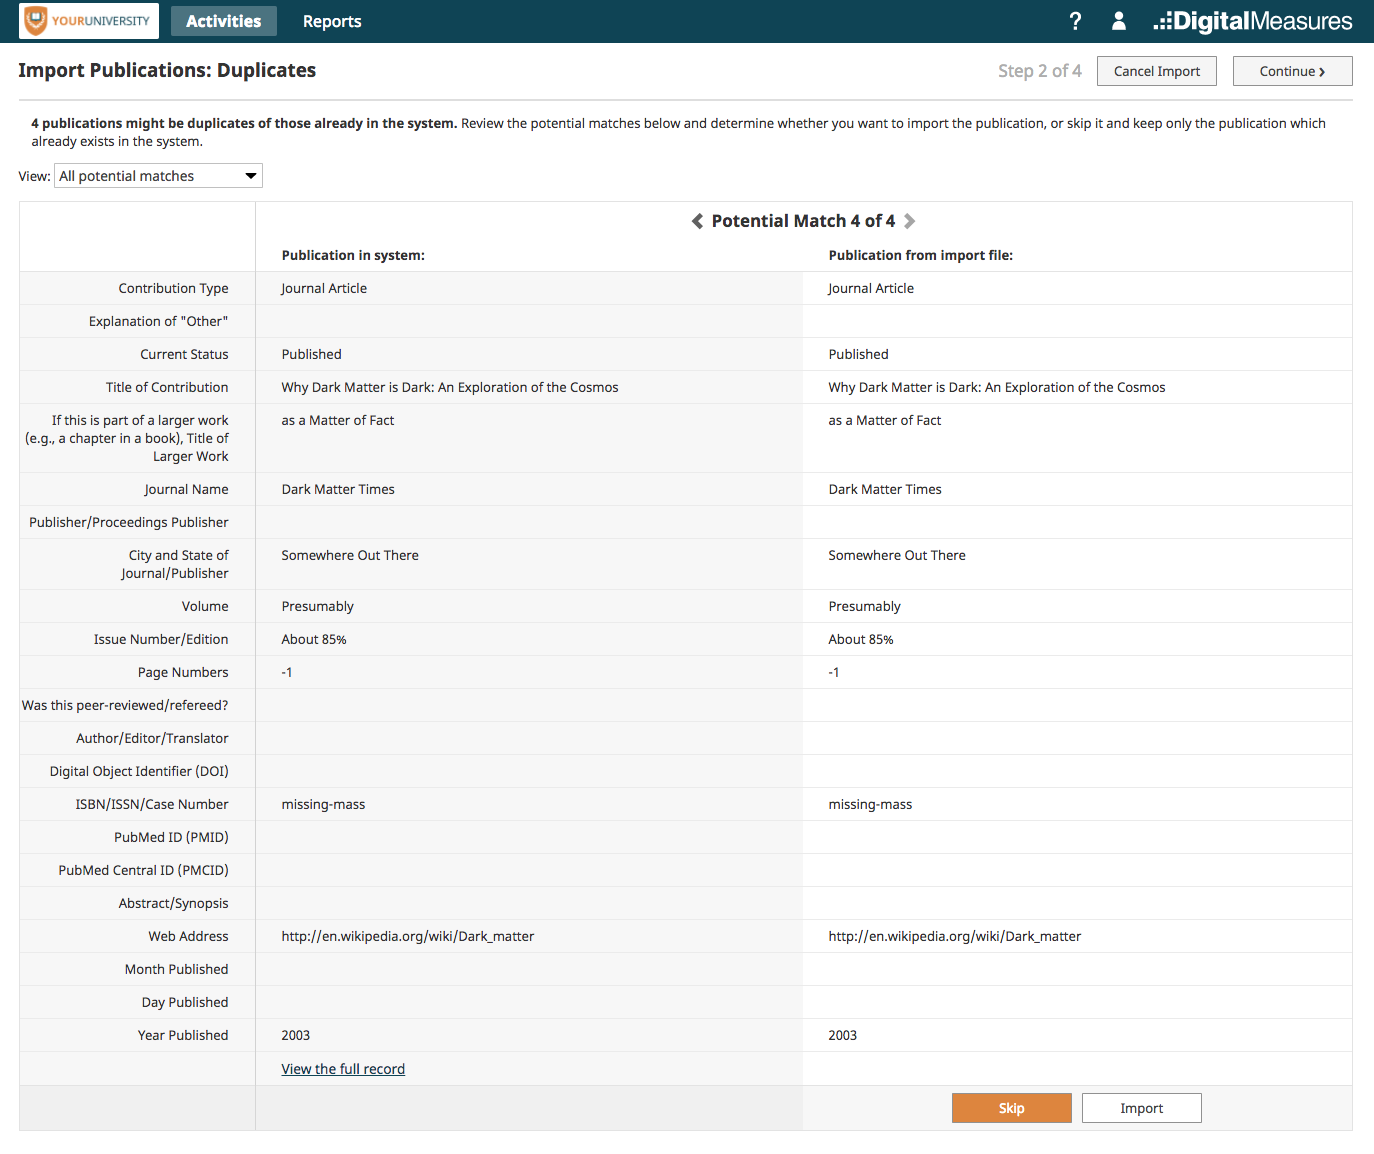
Step 3: Handle Duplicates
Faculty Success uses advanced duplicate detection logic to check the publications to see if any might already be in the system. We do not want duplicates! The publications that might be duplicates are presented to you for review.
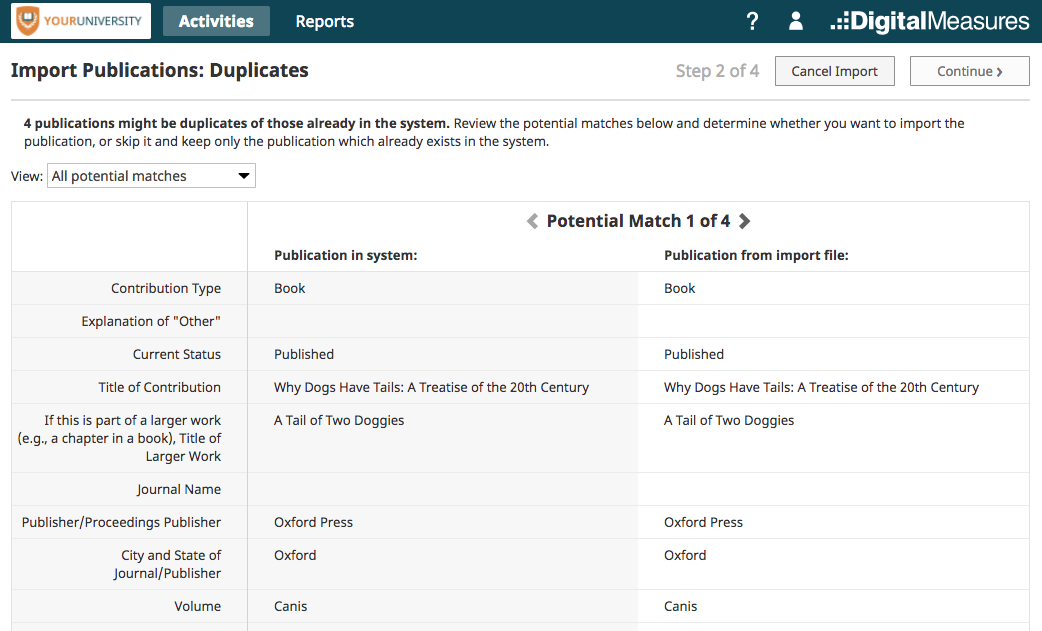
As you can see here, one potential duplicate was found. For each potential duplicate publication, you must choose Skip or Import. You can limit the publications that are displayed to all publications or only those that still need review using the drop-down menu at the top.
Once you have indicated whether each publication is or is not a duplicate, the Continue button becomes available to select in the upper right corner of your screen. Select Continue.
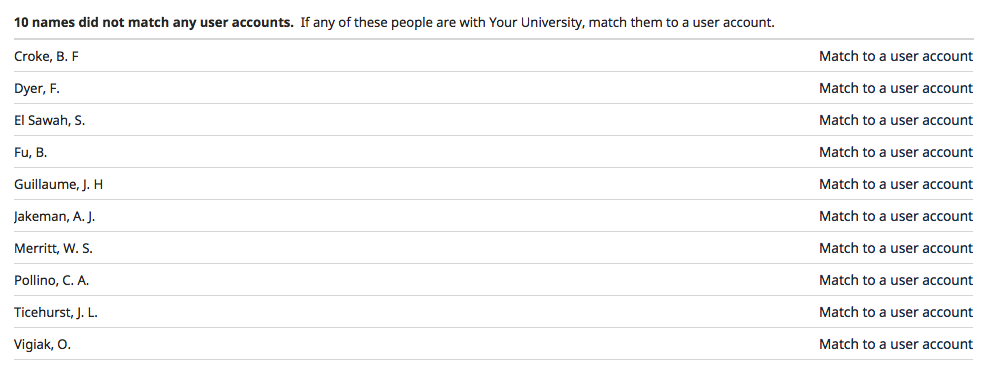
Step 4: Pick Collaborators
You can link the names of collaborators to user accounts in Faculty Success. Here, a list of the names of people that are in all of the records from the file is displayed. There are three possibilities for a name:
- Possibility A: It matched multiple names in Faculty Success, in which case you will see the message X potential matches. Select correct user account.

Upon selecting the link Select correct user account, you will see this:
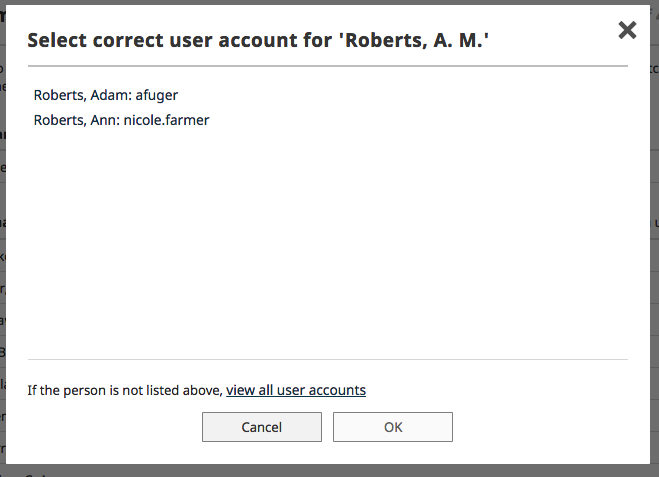
Selecting the link If the person is not listed above, view all user accounts will load all of the user accounts in Faculty Success to enable you to select the user from your campus.
If there are no matches with any user accounts, selecting the No Matching Account button will update the selection on the Pick Collaborators main screen to Match to a user account, meaning a link to a user account will not be made.
- Possibility B: It matched just one name in Faculty Success, in which case you will see the name of the user account that was matched with the text after it of Select a different user account.

Upon selecting the link Select a different user account, you will see this:
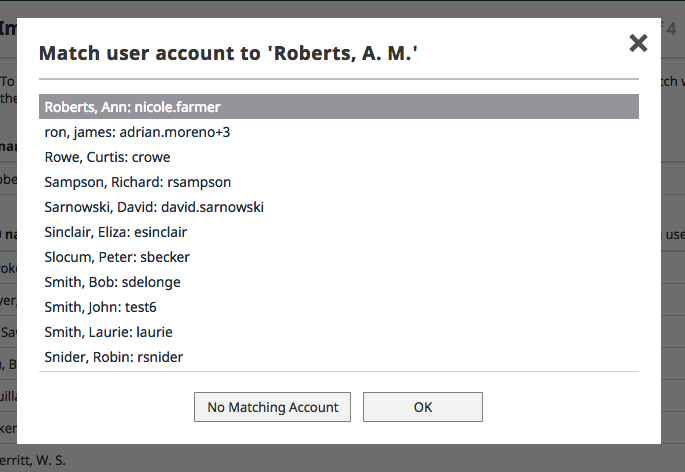
If there are no matches with any user accounts, selecting the No Matching Account button will update the selection on the Pick Collaborators main screen to Match to a user account, meaning a link to a user account will not be made.
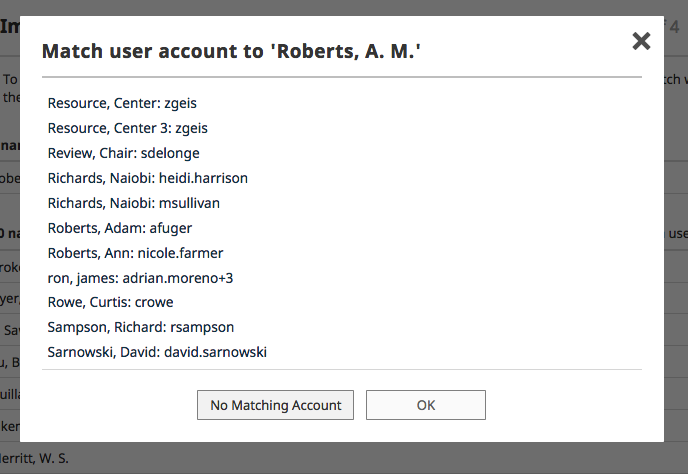
- Possibility C: The collaborator did not match any names in Faculty Success, in which case you will see the message Match to a user account.
Upon selecting the link Match to a user account, you will see this:
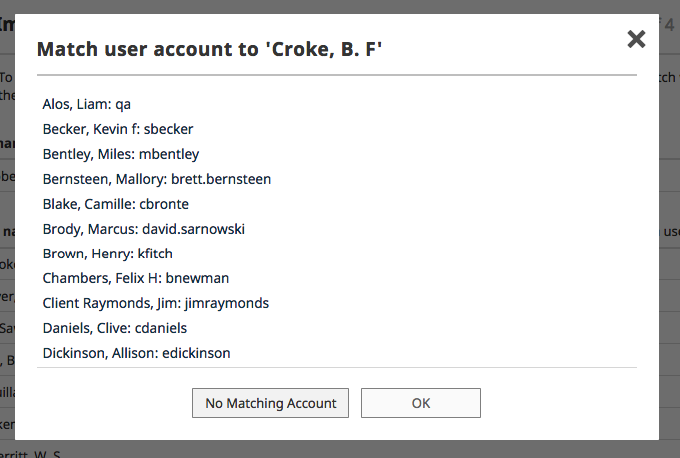
Selecting the button No Matching Account will maintain the selection on the Pick Collaborators main screen of Match to a user account, meaning a link to a user account will not be made.
If there are multiple collaborators, you can select the Match to a user account link to make the proper assignment for each person's name.
Note: In order to proceed, you must resolve all of the names that are from Possibility A above, where a name matched multiple users.
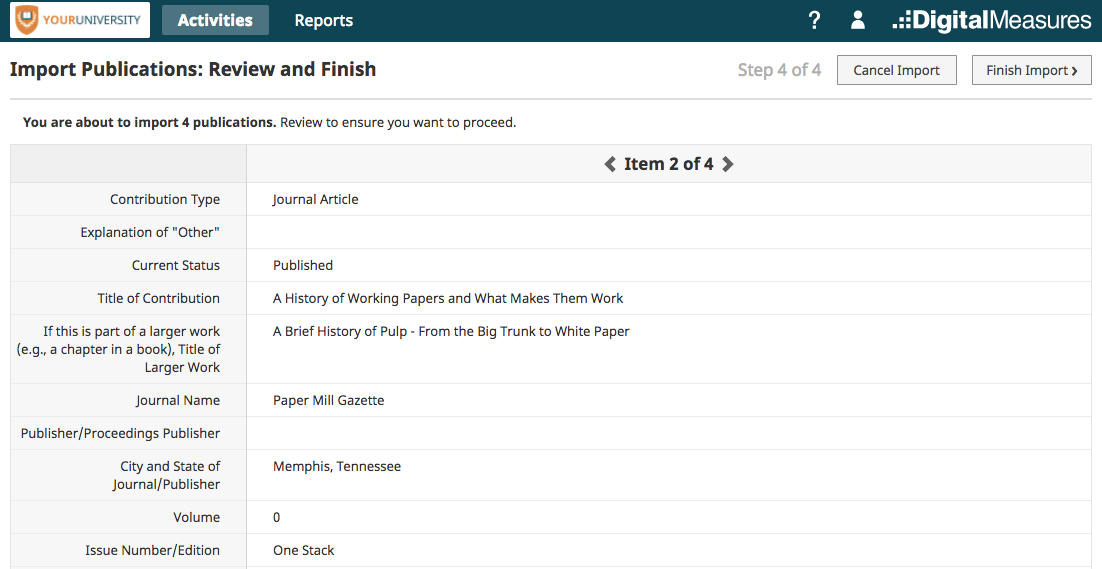
Step 5: Review Records and Import
This step enables you to review the publications that you are about to load to ensure everything looks good. Use the forward and reverse arrows to move through the publications.
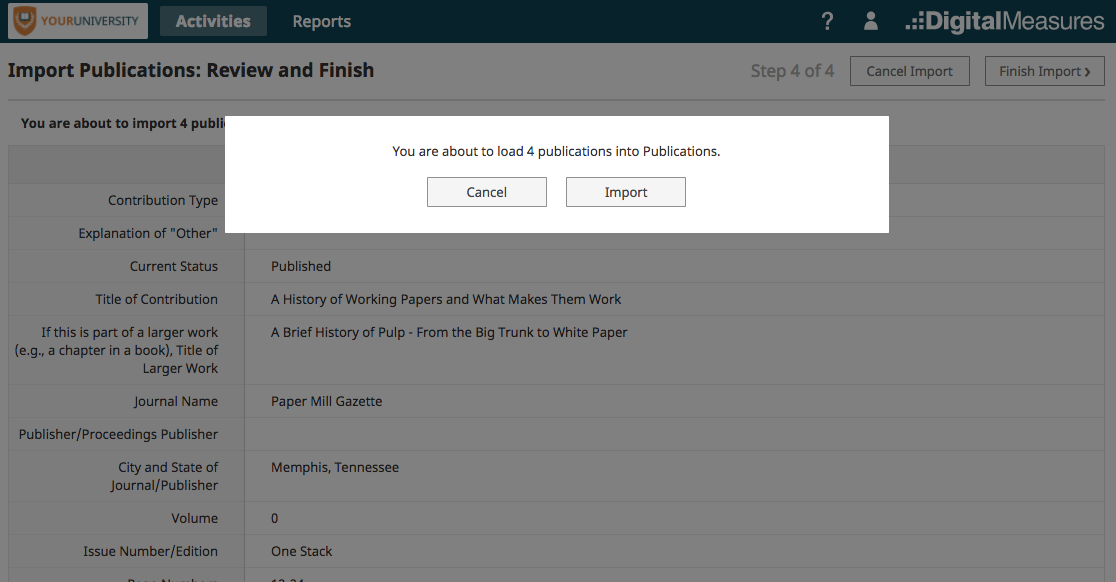
When you are satisfied, select the Finish Import button.
Faculty Success presents a confirmation box to ensure you wish to proceed. Select the Import button to continue.
Import Complete
The records are loaded into Faculty Success immediately and you will see the text X records successfully imported.

For answers to questions not listed here, please contact us.